It turns out that my coworker Karla is quite the drumming enthusiast, and spends quite a bit of her free time in various drumming workshops around the city. One of her favorite things to play is the balafon, and she owns two of them. So one day at work she mentioned that the adjustable stand she used to support her balafon while playing it was starting to break. Somewhere between her showing me how it was broken and me fixing it, I offered to build her one as part of my work-funded life improvement program. I do not know how or why exactly I agreed to this - she may be a witch. Or a hypnotist. I don't know.
Anyway, it turns out that there aren't exactly a lot of plans online for how to build one of these things. Probably because you can buy a brand new metal one for $40. But I had an idea in my head for how I wanted to make it, and I thought I could do a pretty good job, and that it wouldn't take that long.
I was, as you no doubt already guessed, half right.
I worked on this thing for six solid weeks - to the point that the War Department felt compelled to remind me that I wasn't exactly getting paid for this (Karla had agreed to pay for the materials) and that it really needed to get out of the damn garage now. Some highlights of the build process:
- I got to make five separate jigs for this project. Well, four different jigs, but I made one of them twice after changing my mind about the size off the central spacers.
- I had to stop and rethink almost every single piece of the design at one point or another.
- I knew that I wanted to make it out of baltic birch plywood, and have copper accents. Actually HAVING copper accents required four separate trips to Home Despot where I stood in the plumbing aisle for twenty minutes, staring at the various connectors and bits and muttering to myself before leaving - empty-handed.
- It was actually Amy who came up with the one piece of design that had eluded me. Once she figured that out, the rest of it all fell into place. (She suggested epoxying the nuts into the copper end caps, which worked like a charm.)
- Seriously, every single part of building this was brand new territory for me. It's also the first project I did entirely with metric measurement. (I liked it!)
- Total cost of materials: about $100.
- Total cost of labor (at a bargain-basement rate of $25/hour): $2500. At least.
So here are some pictures.
My first design challenge was that the legs needed a hole precisely in the center. After some thought, I figured it would be easiest to drill the hole first, and then use the hole to register the position of the leg on the saw. So I built a jig:


My first attempt at central spacers (and another jig, this one to sand them all down to size/closer to actually round):

I knew I wanted to round over the edges of these, though, and did not want my fingers anywhere near that close to a router bit. So remade the jig, recut the rounds, and made better ones:

Took me three or four tries before I found a technique that worked for sanding up and polishing the copper:

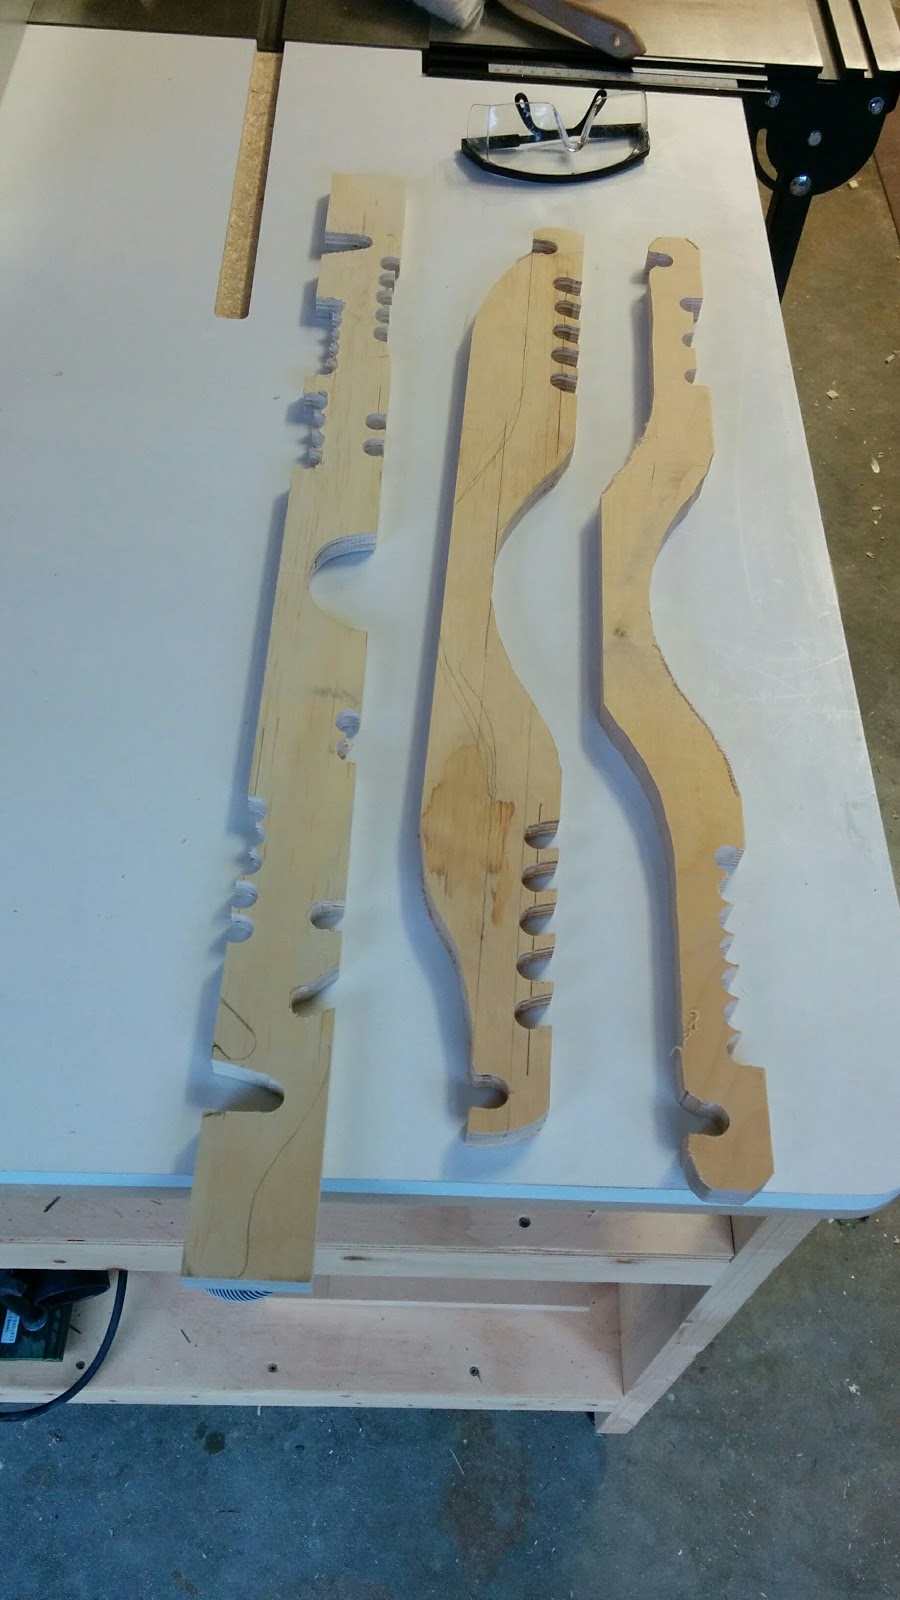
I had an idea to have a special piece serve as both the adjustable lock to hold the stand open at specific heights, and to serve as the handle. I went through several iterations before finding one that worked. These are the first three attempts - I actually sanded and completely prepped the one on the right for finishing, but that was before I found out that I'd messed up the design slightly and had to remake it from scratch:
Two coats of Danish oil, two coats of wipe-on poly, and here's everything ready for assembly:

Clamping up the last piece (couldn't glue that last foot on until everything eas put together):

And it's done!
Folded up for transport (lift up the handle in the center and the whole thing picks right up):

Adjusted to random heights:


And here it is, proving that it works for its intended purpose, with Karla's balafon resting comfortably atop:

Overall, I have to say that it looks almost exactly how I pictured it. I just did not envision the way I'd have to get there...