Sunday, October 22, 2017

Bushwhacking

Hello? Is this thing on? Hello?

Oh, hey there! How are ya? Been a while, eh? Yeah, I know, I know. This time, though, I swear, I really will start....

Well, we're here now, anyway, so let's get to it!

We've been telling each other for, oh, let's say five years now, that we REALLY need to do something about the blackberry canes in the backyard. But due to one reason or another (worried about disturbing the bunnies, laziness, too many wasps, or a combination of all three), we've been putting it off and putting it off.

Until our backyard starting looking, well, jungley, and it was starting to get ridiculous. So we geared up, invited the Not-Those-Clarks-The-Other-Clarkes over to join in the "fun", and waded right in.

Choose your weapon!


It was somewhat difficult to really get a decent shot that showed the true extent of the infestation, so here are some more-or-less "before and after" pairs showing roughly the same spots in the yard.

Before


After

Before

After


And my personal favorite...
Before

After

All in all, we cleared a metric shit-ton of blackberries, and really changed the entire look of the yard. This particular chore was long, long overdue. Of course, such a successful day did not come without cost...

The Injury Report

As it turned out, the machetes weren't the most effective tools in our aresenal. The best way to clear out the canes was to chop them off a foot or so above ground, and then get a firm grip on a few of them and just haul on them.

Well, I was deep in the jungle, doing exactly that. Unfortunately, somewhere in the mess of branches and blackberries that I was hauling on was a cane under tension. When the bunch I was hauling came free, the rogue blackberry came up and whapped me right in the eye. It felt just like that time I was pulling nails out of the flooring in the basement at the old house, and one of the nails came up and thumped me.

After the requisite swearing and squinting, the pain receded a fair bit, and I went back to work, thinking that I'd had a lucky escape - it would have been really nasty if a thorn had stabbed me, wouldn't it?!

We finished tidying up the piles of blackberry canes, figuring that we'd deal with actually getting them out of the back yard the following weekend and maybe even rent a chipper to make the job easier (which didn't happen, but it turned out that just cutting them up and taking them to the yard was easy enough). The Not-Those-Clarks-The-Other-Clarkes went off home to get cleaned up while I mowed the lawn, and then we all met back up for some well-deserved dinner....

Except my eye had REALLY started to hurt again. It was tearing up like mad, and I was getting sharp pains when I tried to focus or went into a brightly-lit room. Thinking that maybe the injury was worse than I had originally thought - or that I'd gotten something stuck in it, we sent our guests home (unfed, I'm sorry to say), and hied ourselves off to the clinic (which was closed, of course) and then to the emergency room.


(Nothing in that cupboard was for me, but I spent a good 30 minutes reading those signs and wondering what some of those things were for ...)

Turns out that the branch DID have a nice big thorn in it, and I'd done a tremendous job of puncturing my cornea. Yay me! It took a little over a week's worth of near-constant eye drops (four different kinds) and three trips to the eye doctor before it cleared up.

Pro tip: Even if they do make you look like a safety nerd, always wear your safety gogglers.


Sunday, February 5, 2017

When things don't work out

I had a really good project planned for January: I was finally going to finish the Shaker table I started way back in ... holy crap, 2014??? Um. Wow.

Anyway, that thing has been sitting in my closet ever since I brought it home from that class, waiting for me to get around to finishing it. I knew that I'd made a few mistakes during the build that would need fixing, but I figured that I'd learned enough since then that I could make a go of it.

Well, not so much. Turns out that the mistakes, while individually rather minor, added up to a real headache. You can see a fair number of them just in this shot of the front:


The main issues were:

  • I'd left the top sitting too long in the corner of the closet, and it had developed a rather nasty cup. I'd have to remake it from scratch - but I didn't have enough alder left, so I would have had to use a different material.
  • I had been a little bit off when I drilled the dowels to hold the top spacer (above the drawer), and as a result, it was twisted and slightly proud of the front. Flattening it woiuld have required a lot of sanding and chisel work, and I would never have gotten it quite right.
  • The entire carcass was ever so slightly out of square, meaning that the drawer would have to be "fudged" to suit the carcass.
  • I had messed up the drawer bottom the first time I made it, and had to drill a hole in it to pry it out of the drawer again. Meaning I would also have had to remake it.
  • On closer inspection, my dovetails were TERRIBLE. Front and back. 

The more I looked at it, the more I saw that just wasn't... good enough. I would have had to remake about half of the components, and spend even more time fixing the problems on the parts I would be keeping. 

In the end, I chopped it all up for firewood. Which really, really, really hurt, but was strangely cathartic at the same time.

With the table now out of the running, I needed a new project for this month. Unfortunately, the weather (and therefore the shop) was really cold this month, so I didn't want to do anything that would require special finishing - or even any more glueing than necessary. So I turned my attention to a pair of shop projects that I'd been meaning to do for a while.

I'd made little shop cabinet a while ago to store my table saw blades and really liked the way it turned out. the only downside was that, because it was designed specifically for 10" table saw blades, it wouldn't hold the 12" blades for the miter saw. I decided to modify the original design (which I should mention wasn't mine - I got it from Jay Bates) and make a cabinet that would hold not only the 12" miter saw blades, but also the 7 1/4" blades for the circular saw. 

Having already made one of these, it was a pretty straightforward build, with the sole exception of accidentally putting the bandsaw blade in backwards while cutting the profile for the sides. Works a lot better when the teeth are actually cutting!

In progress (you can see the original cabinet on the wall behind it):


Finished!


I should also mention that the reason I picked these projects is that I really wanted to get started actually USING the French cleat storage system we installed on the back wall of the shop.

That only took a couple of evenings out in the shop and was so much fun to build that I decided to follow it up immediately with another, similar project, and figure out a way to deal with the absolute chaos that was my sandpaper drawer:


To be fair, I did have a better system of organizing it than that depicts, but it wasn't exactly convenient to use, which meant that, well, I didn't use it. So I pulled out all the stuff I wanted to have handy while working at the bench:


Then I drew up some plans and started\making dust:


Finished!


As you can see, there's still lots of space left on the cleats:


Going to have to come up with some more storage plans - and decide what we're going to keep up there!

Sunday, January 8, 2017

Woodworking Project(s): Toolbox and Bomber Holders

Way, way, WAY back  - in the late spring of 2015 - I was taking yet another round of Woodworking Level 2 at Camosun College, and decided to try and make something a little different. I was perusing the plans in the racks at Lee Valley and came across something I thought might put my newfound skills (ha!) to the test: a traditional-style toolbox, made with dovetailed sides and a raised panel lid.

I really liked the look of the finished product, at least according to the pictures on the set of plans, and really wanted to try some real dovetails, so I bought the plans and hied myself down to the wood store to pick up some cherry. (Wow, was it expensive. Seriously.) My instructor in the course was all gung ho about me giving this a try, and helped me as best he could (while still tending to the rest of the class).

Over the 27 hours of the course, I managed (barely) to make the carcass of the thing. I spent four straight classes doing nothing but cutting the dovetails. It was bloody hard work, and I think next time I might just use a router. (Kidding! As long as I'm working with softer wood.)

Anyway, at the end of the class, I brought my work-in-progress home to finish it up... and it sat in the corner of my office for the next 18 months. I managed to drag it down to the work shop long enough to give it some cursory sanding, and again another time to mortise in the hinges for the lid, but I was finding the process of actually finishing it somewhat daunting.

Well, my goal for my work-funded life improvement initiative this year was to start actually finishing some things (in more ways than one), so I resolved to get this thing done as my December project. (I'm a little late because the garage/workshop is not only not heated, but also poorly insulated, which makes applying finishes in sub-zero weather something of an ill-advised challenge, if not just plain impossible.)

So this is what the toolbox (or at least the pieces of it) looked like when I dragged it out into the light:


Actually, I think that was after I'd already done a fair amount of sanding and prep (and some chiselling to make the lid fit properly). I had already decided to try shellac on this project, and got some very helpful advice from my father-in-law with regards to not going overboard with the whole "Let's try French polishing on my first shellac project like an idiot!"

So I mixed up some two-pound cut using some very nice shellac flakes I picked up at - surprise! - Lee Valley:


It took a few hours for the flakes to break down:


Once it did, I used a combination of a really poor-quality bristle brush (bit of a mistake there) and a foam brush (another bit of a mistake there) to put on two coats of shellac. I thinned the second one slight as it was really cold in the garage and I was finding the shellac hard to manipulate once it hit the surface of the wood. Next time, I think I will thin the first coat even more, and use a rag (also known as a rubber or a fad) to apply the shellac. Here's what it looked like:


Because I had put the shellac on a little thick, I had to do a LOT of sanding and even more work with the steel wool, but I managed to get a really nice sheen to the surface afterward.

Unfortunately, that's when the REALLY cold weather hit and I had to wait more than a week to put on a couple coats of wipe on poly. I actually had to spend the better part of the day yesterday using every portable heater I had to get the garage up to minimum temperature. It was worth it, though. the poly really puts a shine on it:


 Then, today, it was just a matter of putting on all the hardware (I got to make TWO jigs!) and - after some discussion - finding a home for the damn thing:


I cannot possible tell you how good it feels to not only cross that one off the list, but to have it turn out so well.

Okay, so the finish isn't perfect, but I learned SO much during this process that I'm pretty confident I'll be able to get pretty close the next time I use shellac.


Bonus project!

So, I wanted to actually post about this before New Year's, but couldn't for rather obvious reasons. Fortunately, the last person slated to receive one has finally taken possession, so...

For Christmas presents this year, we decided to make bomber holders for a few select friends. The growler carriers I made were a pretty big hit with some people, and so we thought a similar idea, but designed for bombers, would make a nice present for the beer afficionadoes in our lives. The War Department also thought it would be nice to include a bottle opener on the case (as we have yet to encounter a twist-off bomber), and we found some beautiful ones at, well, Lee Valley (of course). She also helped pick the beers that went into them - what, you thought we'd turn them over EMPTY? We're not savages!

Anyway, these were a lot of fun to make, aside from all the goddamn math, and despite a tiny bit of an issue when I tested the strength of the plywood veneer with an excess of carpet tape:


I had to remake those pieces, obviously, but the holders turned out really nice, and everyone that got one seemed to like theirs.


I made them out of recycled furniture, by the way, AND I got to use my spline jig! Oh, happy day!

Tuesday, November 15, 2016

Woodworking Project: Balafon Stand

Before I even say anything about this project, THIS is a balafon, okay? As for why I was making a stand for one, well, that may require some further explanation.

It turns out that my coworker Karla is quite the drumming enthusiast, and spends quite a bit of her free time in various drumming workshops around the city. One of her favorite things to play is the balafon, and she owns two of them. So one day at work she mentioned that the adjustable stand she used to support her balafon while playing it was starting to break. Somewhere between her showing me how it was broken and me fixing it, I offered to build her one as part of my work-funded life improvement program. I do not know how or why exactly I agreed to this - she may be a witch. Or a hypnotist. I don't know.

Anyway, it turns out that there aren't exactly a lot of plans online for how to build one of these things. Probably because you can buy a brand new metal one for $40. But I had an idea in my head for how I wanted to make it, and I thought I could do a pretty good job, and that it wouldn't take that long.

I was, as you no doubt already guessed, half right.

I worked on this thing for six solid weeks - to the point that the War Department felt compelled to remind me  that I wasn't exactly getting paid for this (Karla had agreed to pay for the materials) and that it really needed to get out of the damn garage now. Some highlights of the build process:

  • I got to make five separate jigs for this project. Well, four different jigs, but I made one of them twice after changing my mind about the size off the central spacers.
  • I had to stop and rethink almost every single piece of the design at one point or another.
  • I knew that I wanted to make it out of baltic birch plywood, and have copper accents. Actually HAVING copper accents required four separate trips to Home Despot where I stood in the plumbing aisle for twenty minutes, staring at the various connectors and bits and muttering to myself before leaving - empty-handed.
  • It was actually Amy who came up with the one piece of design that had eluded me. Once she figured that out, the rest of it all fell into place. (She suggested epoxying the nuts into the copper end caps, which worked like a charm.)
  • Seriously, every single part of building this was brand new territory for me. It's also the first project I did entirely with metric measurement. (I liked it!)
  • Total cost of materials: about $100.
  • Total cost of labor (at a bargain-basement rate of $25/hour): $2500. At least.
So here are some pictures.

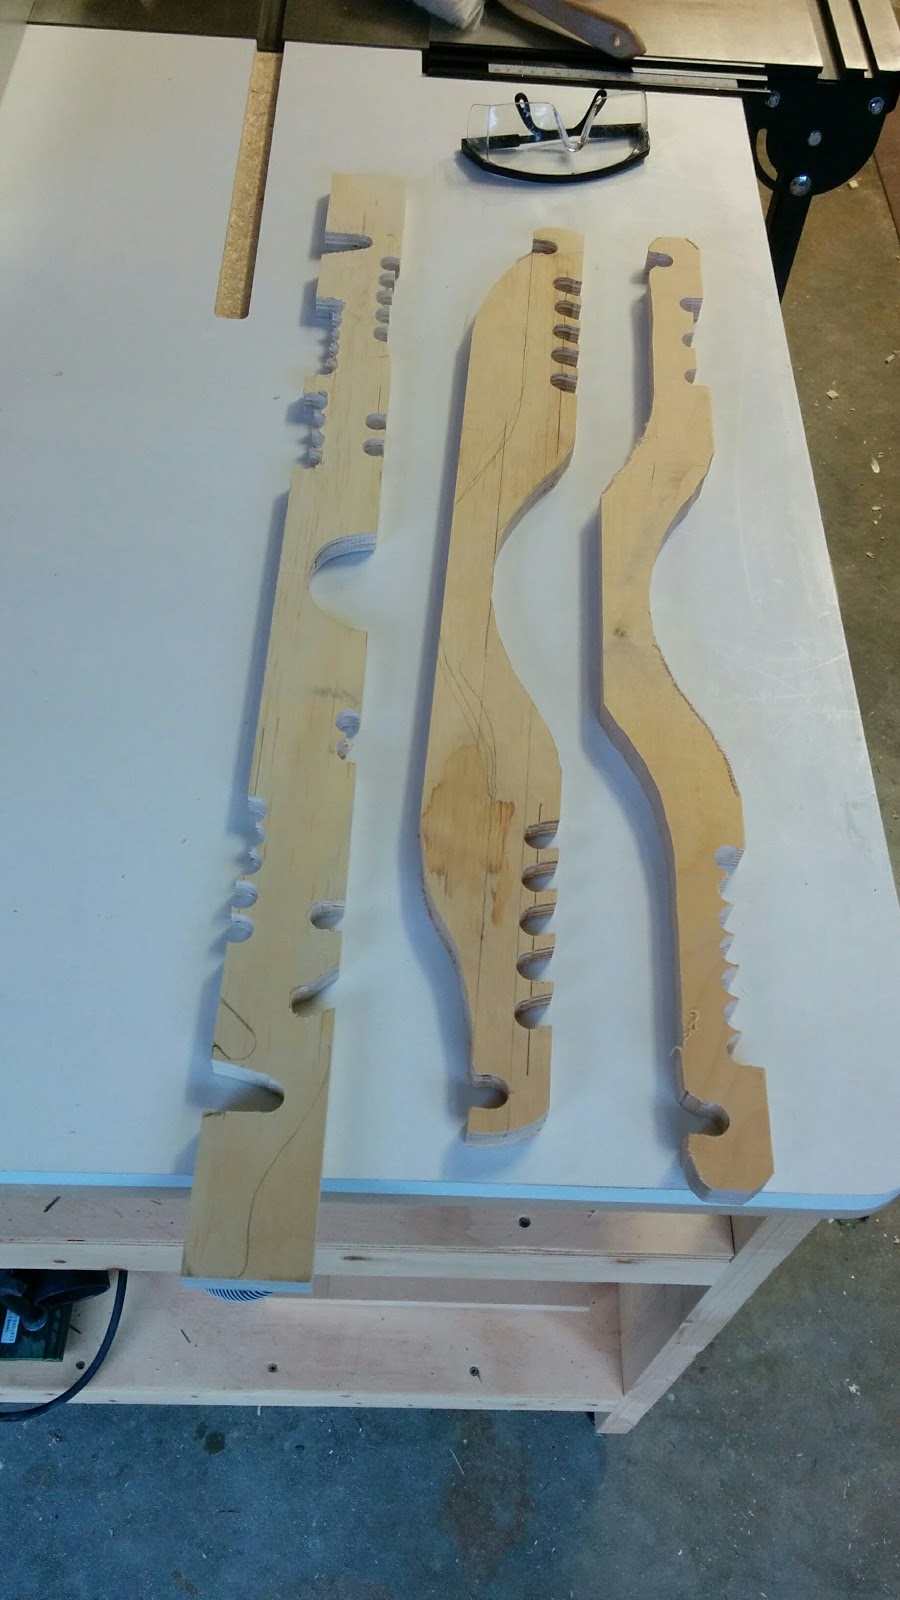
My first design challenge was that the legs needed a hole precisely in the center. After some thought, I figured it would be easiest to drill the hole first, and then use the hole to register the position of the leg on the saw. So I built a jig:


My first attempt at central spacers (and another jig, this one to sand them all down to size/closer to actually round):


I knew I wanted to round over the edges of these, though, and did not want my fingers anywhere near that close to a router bit. So remade the jig, recut the rounds, and made better ones:


Took me three or four tries before I found a technique that worked for sanding up and polishing the copper:


I had an idea to have a special piece serve as both the adjustable lock to hold the stand open at specific heights, and to serve as the handle. I went through several iterations before finding one that worked. These are the first three attempts - I actually sanded and completely prepped the one on the right for finishing, but that was before I found out that I'd messed up the design slightly and had to remake it from scratch:


Two coats of Danish oil, two coats of wipe-on poly, and here's everything ready for assembly:


Clamping up the last piece (couldn't glue that last foot on until everything eas put together):


And it's done!

Folded up for transport (lift up the handle in the center and the whole thing picks right up):


Adjusted to random heights:


And here it is, proving that it works for its intended purpose, with Karla's balafon resting comfortably atop:


Overall, I have to say that it looks almost exactly how I pictured it. I just did not envision the way I'd have to get there...